Creating a Featured Image
What Are Featured Images?
Featured images are a part of your metadata. They show both search engines and visitors a single image related to a blog post or page.
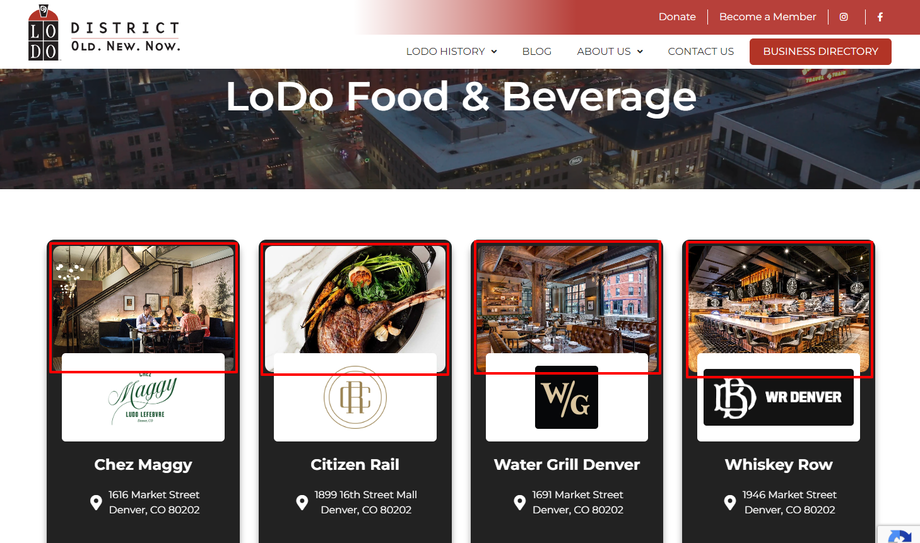
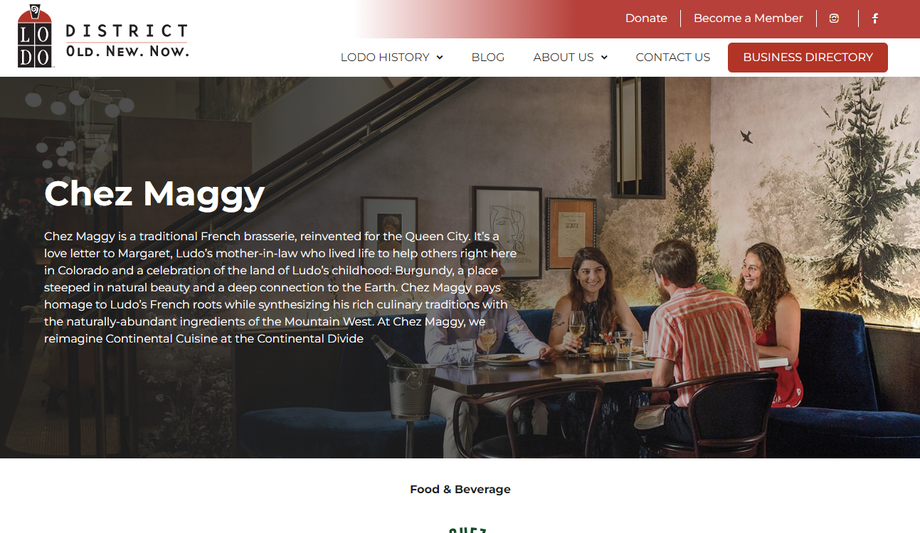
For the following three examples, we'll use the Chez Maggy post to highlight different places their featured image appears.
Example #1 - Featured images used on a feed of posts highlighted in red.
Example #2 - Chez Maggy's featured image being used as the background of their page.
Example #3 - When the page is shared to social media, the featured image will accompany the post and be displayed similarly to this.
Instructions
The following are instructions for creating a properly sized featured image that can be used on blog posts and when posts are shared on social media.
1. Go to pixlr.com
2. There are two options, you will want to choose 'Pixlr X'
3. Click on 'Start a design project'
4. Click on 'Open image'
5. Select your image from the file upload menu. You will then see this menu open.
6. Click on 'Web'
7. Click on 'APPLY'
8. Click on 'CROP & ROTATE'
9. Type "1200" for the width.
10. Type "628" for the height.
11. Reposition the cropped area by clicking and dragging the box around the image.
12. When satisfied, Click on 'APPLY'
13. Click on 'SAVE'
14. Click on 'SAVE AS'
15. You're done! Now, you can take this image and upload it to WordPress.
If Pixlr isn't working for you, you can use Canva's photo resizing tool as an alternative.


